I love this stitch very much. I learned to crochet it when I was 6 or 7 years old. It was ideal decision for green grass to which I sewed my crocheted mushrooms. Now I found out people use different equipment to crochet it, but I use only my fingers. I just crochet it in the same way I have been doing for more than 25 years. So I decided to share my way with you. Probably it will be useful for someone...
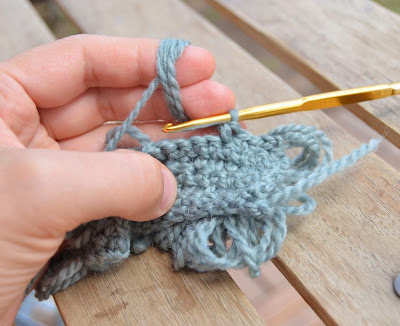
I crochet loop stitch on wrong side making loops on the right side. You can make bigger or smaller loops using one, two or even three fingers.First reel up yarn as many times as you want (to make a stitch bushy or thin).
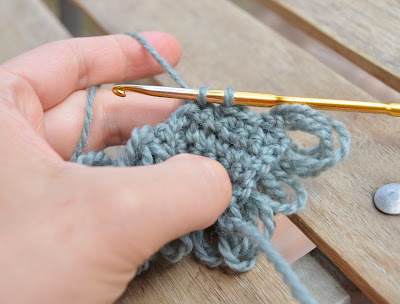
Then insert your hook in a stitch of previous row and through all the loops on your finger(s).
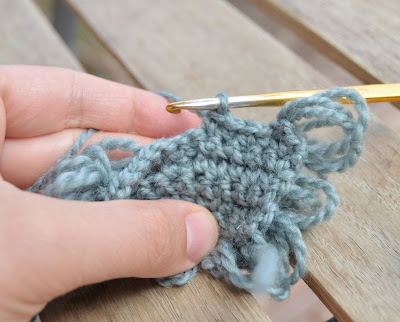
yo yarn and draw it up through all the loops, yo again and pull yarn through two loops on hook.
Your loop stitch is ready!
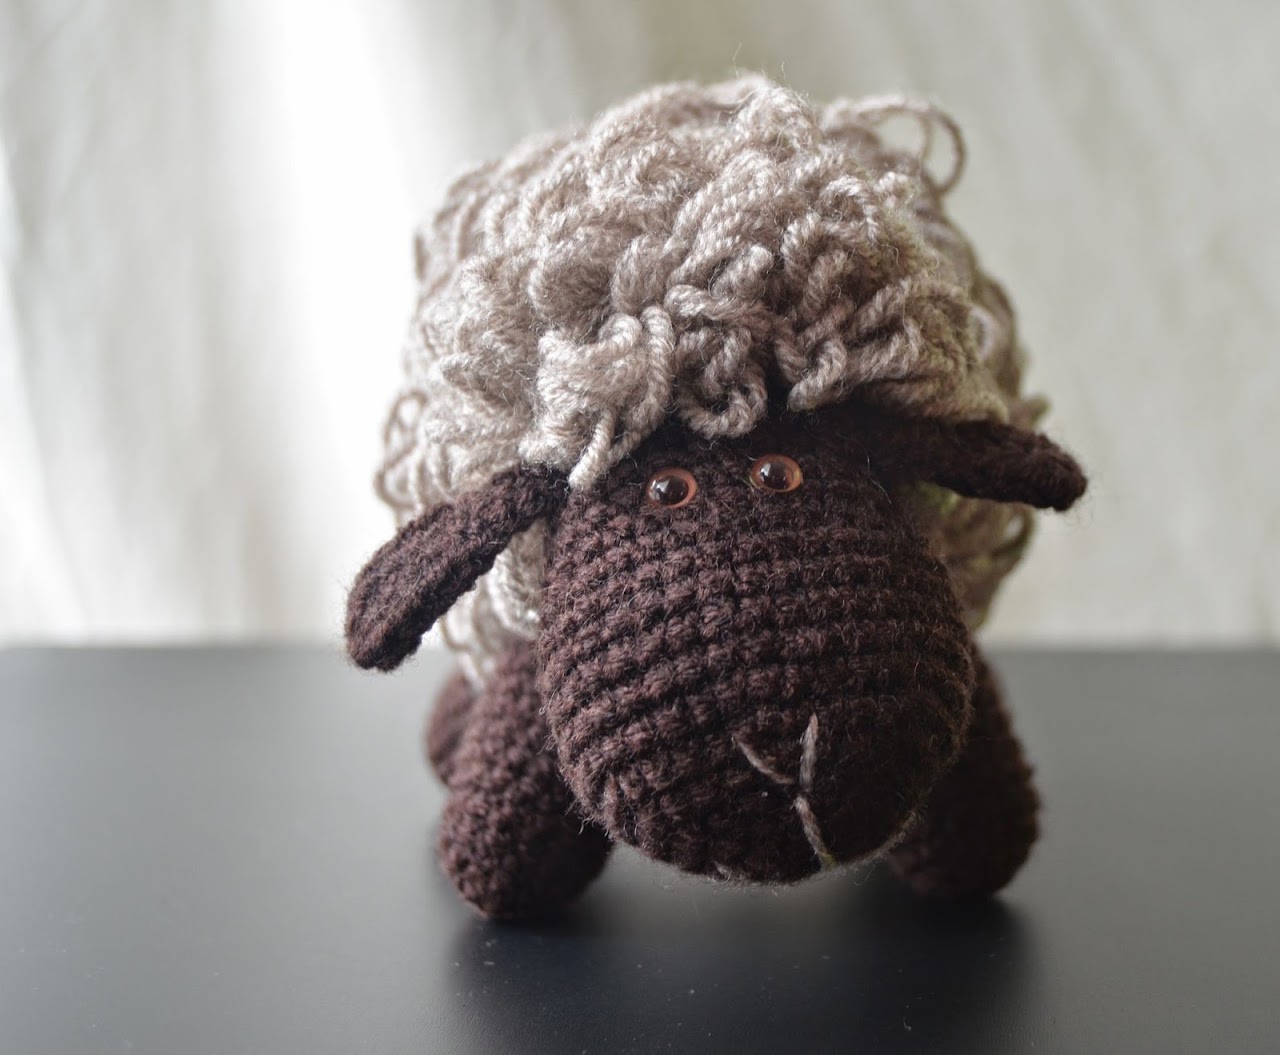
You can make another one just after the previous one but I prefer to separate them by one or two single crochet stitches. If I crochet in rows and not in rounds I just crochet next row on the right side with single crochet. If I crochet in rounds (for example amigurimi) then I make loop stitches all the time but place them between loop stitches of the previous round.
Hope the pictures were helpful :)
If you haven’t subscribed to my blog yet – you can do it now. And you can also follow me on Facebook, Pinterest and Instagram.


Excellent way of doing loop stitch. Thank you very much for this. Now I just need to find that sheep pattern.
ReplyDeleteExcellent way of doing loop stitch. Thank you very much for this. Now I just need to find that sheep pattern.
ReplyDelete