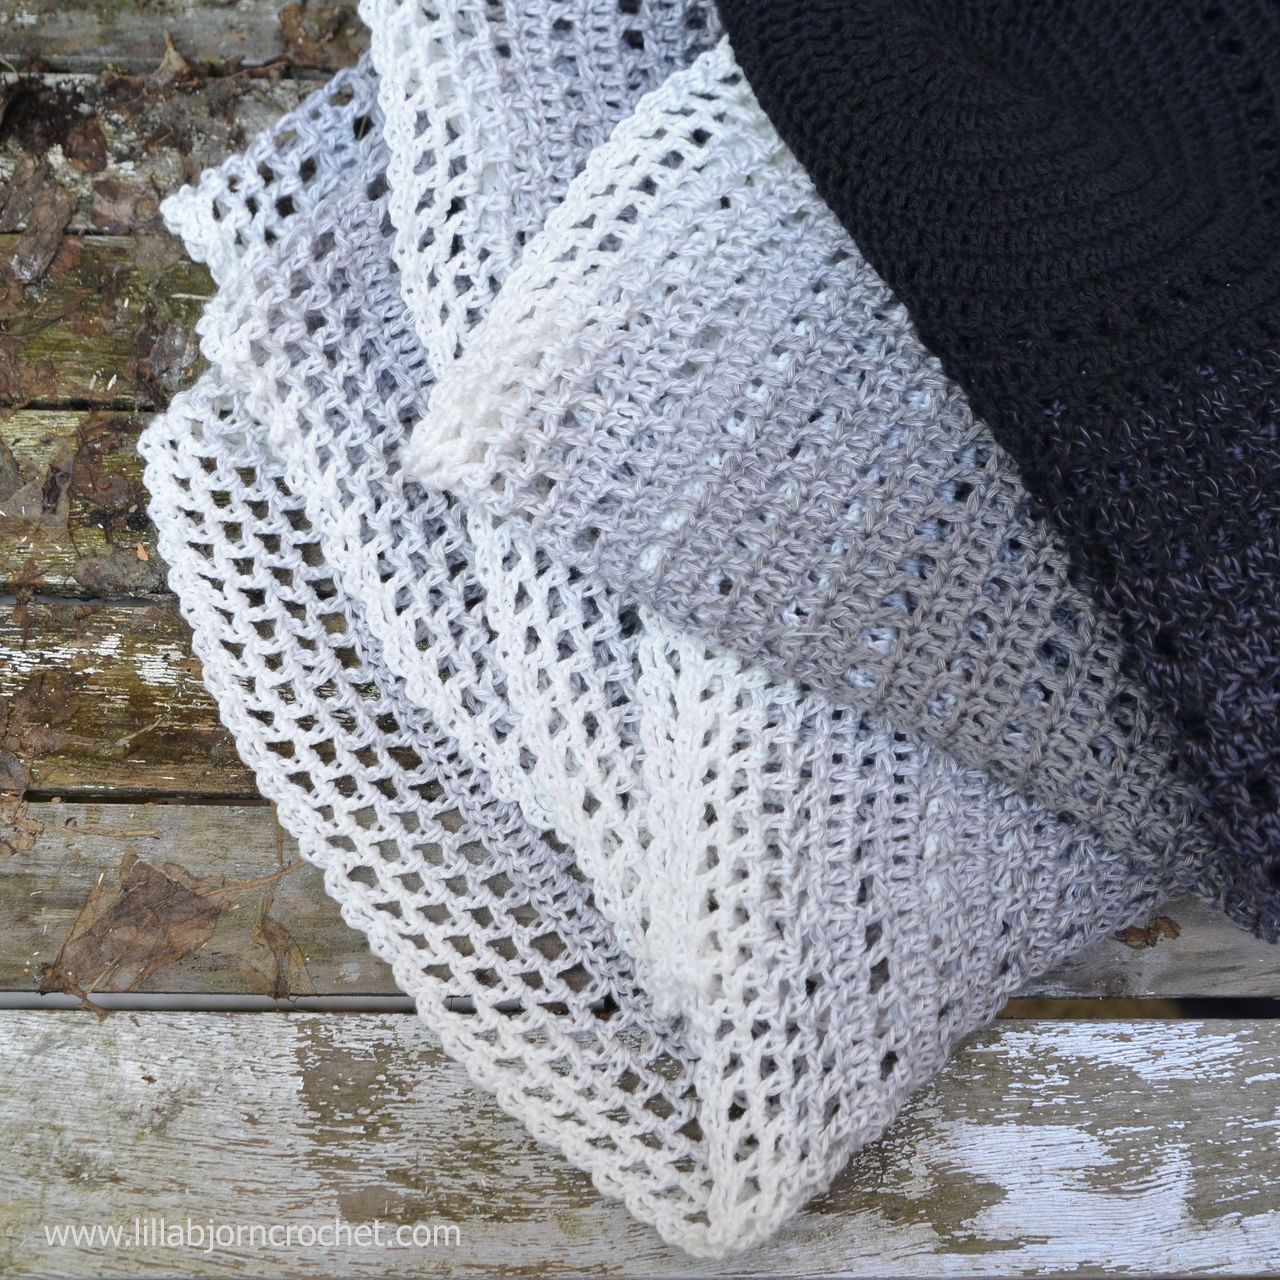
Several weeks ago I told you about new Scheepjes yarn – Whirl (reviewed HERE). It’s a cotton blend yarn cake coming in 12 gorgeous shades – all inspired by ice cream flavours. The good news is that Whirl is already available for purchase. You can find it on Wool Warehouse (HERE)* (ships orders internationally) and in your local Scheepjes shops, of course.
I have a special feeling about this yarn, as I fell in love with it at the first glance. When I received a sample cake in black-and-white I just started to crochet a plain circle with double crochet stitches. I didn’t really have any clear idea in mind. Yarn cake itself looked crazy wonderful and I wanted to copy the shape and all the gradient changes of colors.
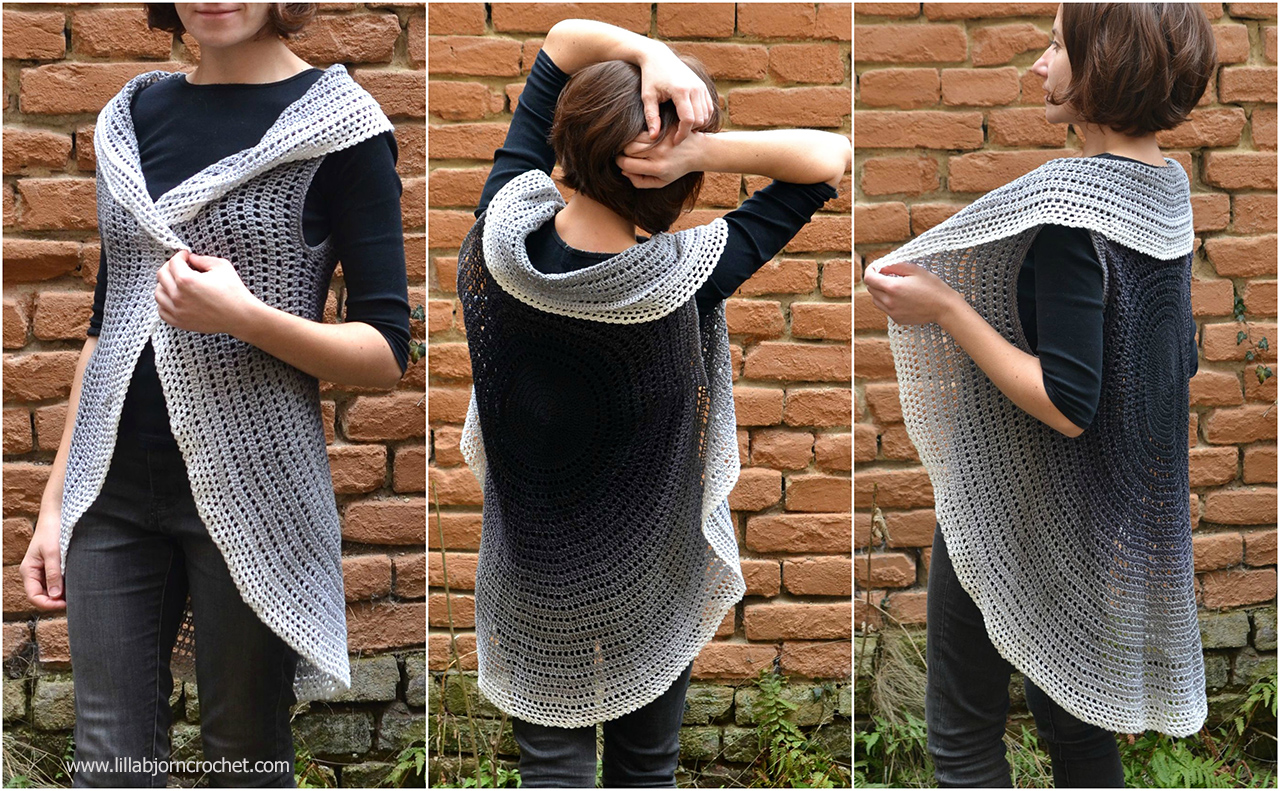
After central circle was finished, I changed to a more open pattern thinking it might make a nice summer baby blanket. And suddenly that feeling came. A Mandala Vest! I wanted to turn my new design into a round sleeveless jacket.
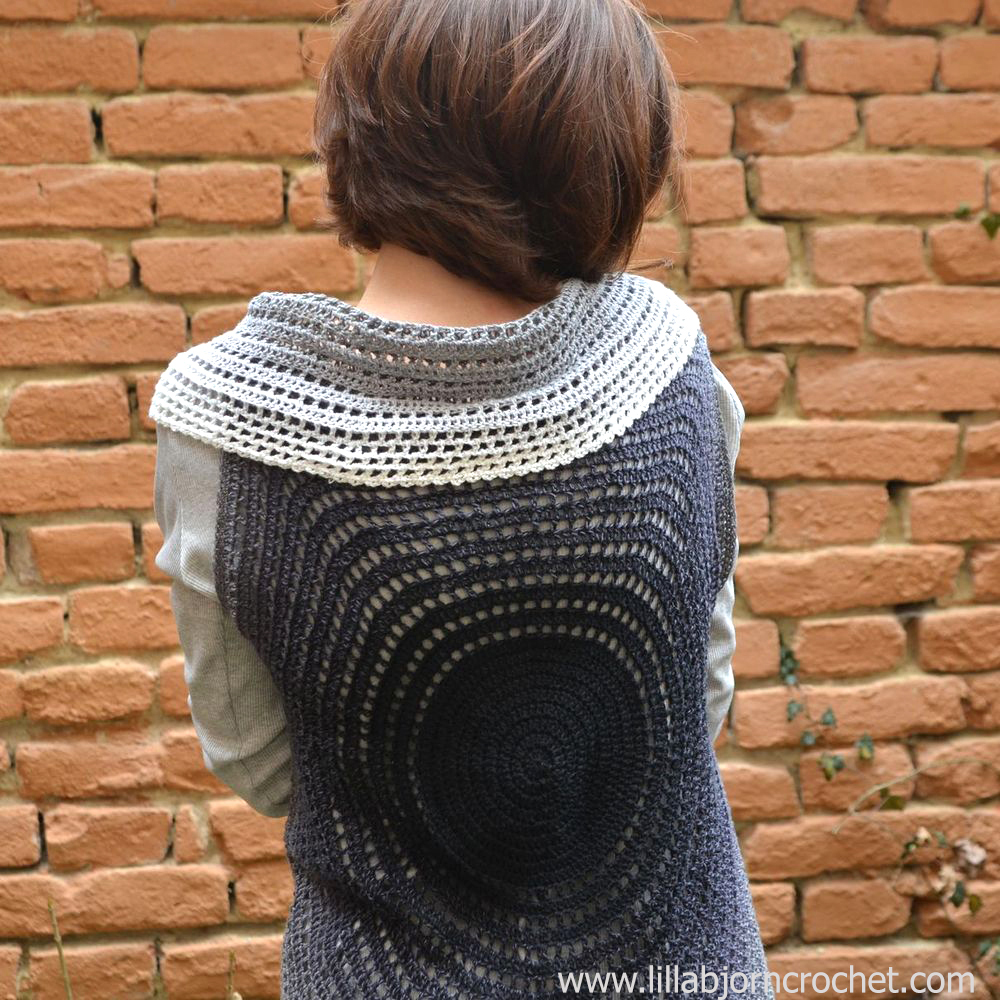
To be honest I was not sure if 1 skein of Whirl yarn would be enough or not, but I was hoping. And it worked just perfect! Perfect one size which fits all (S to L). My finished vest measures approx. 40cm (15 ½ in) between arm holes (the shoulders). And it’s approx. 82cm (32 in) long measured on the back from neck to the bottom.
To say I am not fond of being a photo-model is to say nothing. But since I didn’t have anyone to model for me (and I was so excited to show you my finished vest), so I had to give it a try. I am sending many thanks to my friend Xenia who did a great job. I like some of these pictures very much.
I call it a Mandala Vest though there is no true mandala in the center of a circle. I could of course remake it from beginning and start with some lacy mandala design. But I didn’t do it on purpose. Whirl yarn is so gorgeous, and soft gradient colour changes are just amazing. It would be a pity to take attention away from the yarn. So let’s call it a modern version of traditional Mandala Vest. I also think that in this interpretation the jacket can fit a wider number of outfits. It’s simple and looks classical. Though it has a modern shape.
I will do my best to release the pattern (FREE) next week. So if you would like to make a fresh accessory for yourself, be sure to stop by on my blog again! UPDATE: free pattern for Whirl Mandala Cardigan is HERE.
Subscribe to a newsletter not to miss a single post. You can also follow me on Facebook, Pinterest and Instagram.

* DISCLOSURE: This blog contains affiliate links (marked with *). If you purchase a product via a link on my blog, I may get a small percentage contribution from the store which enables me to keep providing you with free patterns. It costs you nothing extra to visit the store via my link, but ensure I get the credit for the sale. Thank you for your support!


I have been wondering about this project, and now i see it finished i can say it turned out very well.
ReplyDeleteThank you Marianne, I was a biot unsure till the end as I don't normally design garments. But it all worked well :)
DeleteI think this yarn is just perfect for this design
DeleteThat looks great! But is the Scheepjes Whirl really available already? I've been constantly checking the Wool Warehouse page for two days now and all I get is the "notify me when in stock" message.
ReplyDeleteI was probably too enthusiastic... But Whirl will be in stock very soon!
DeleteYour mandala vest is gorgeous! I've been looking at the more colourful, lacy versions and I prefer something a bit more subtle/modern! This is it! 👍🏻💚🙋🏻
ReplyDeleteThis is perfect for here in Fl. I do wish it was written in extra large also! I just have no idea how to adjust the pattern. I read you said to adjust for armholes but i haven't a clue as to what to do for this! If you could can you write for exlarge. I understand if you don't have the time! Thank you for your time and all your patterns, carol Ashworth
ReplyDeleteTo make it larger, you would just make more rounds before beginning the armholes. With a helper, or using a sweater that fits you well, measure the distance on your back between armholes. Once you finish the armholes, keep trying it on until you like the total diameter.
DeleteJust getting started on round 11. Could you explain round 11 differently for me?
ReplyDelete